Printable Build a Rhino Craft
Rhinos are one of the most unique-looking animals on the planet.
This printable includes all the pieces needed to build your own rhino.
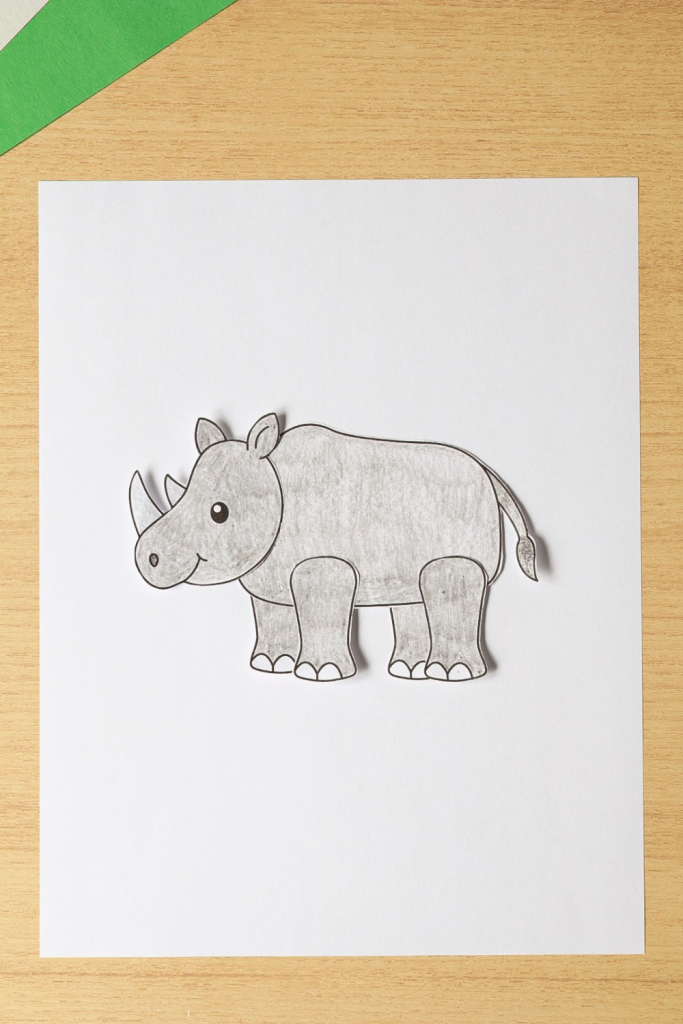
Color the pieces, cut them out, and glue everything onto a sheet of paper or piece of construction paper to put it all together.
This activity works great for zoo themes or African animal units in daycare, preschool, or kindergarten.
All you need are some scissors, crayons or markers, and a glue stick.
Get the Rhino Craft Template
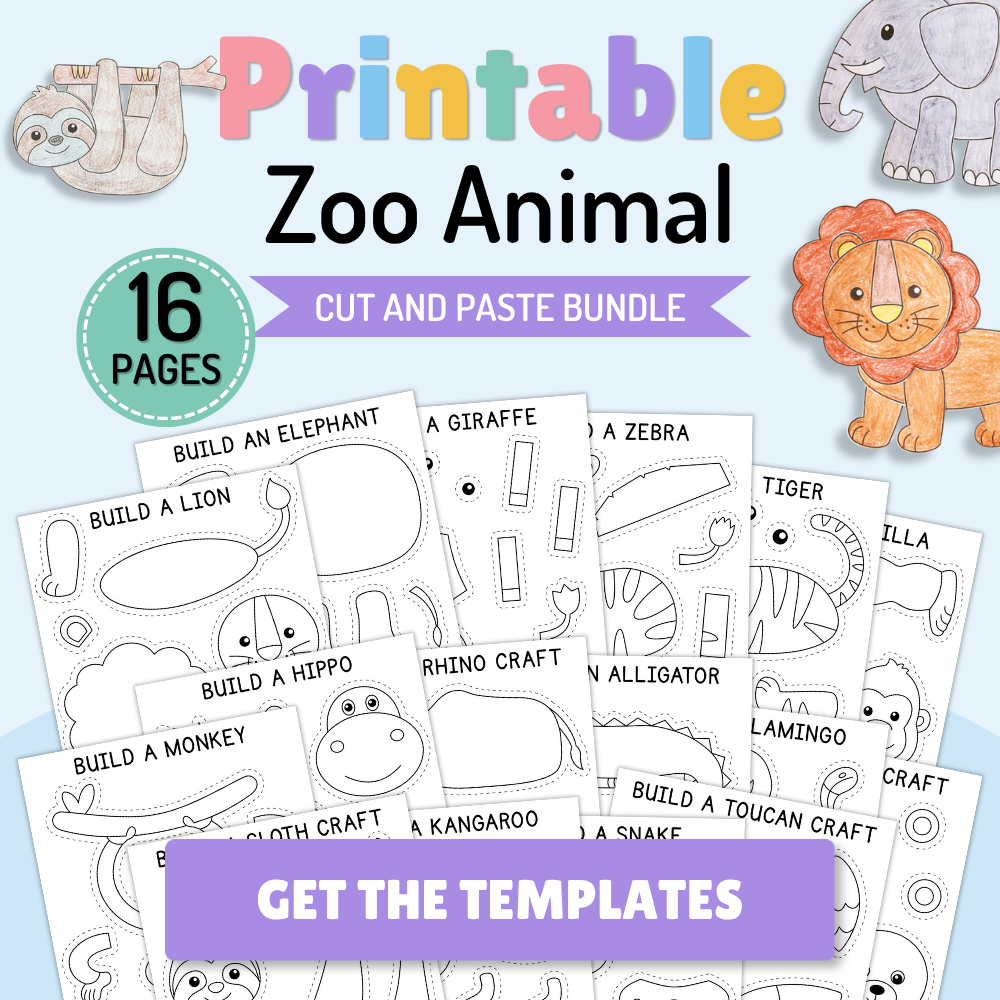
This template plus 15 others is included in the Zoo Animal Craft Bundle! Get all 16 as one instant PDF download for personal and classroom use.
Grab the bundle in my Etsy shop here.
Or grab the rhino on its own here!
How to Build Your Own Rhino
Supplies Needed
- Rhino craft template
- Crayons, markers, or colored pencils
- Scissors
- Glue stick
- White copy paper or construction paper (optional)
Step 1: Color the pieces
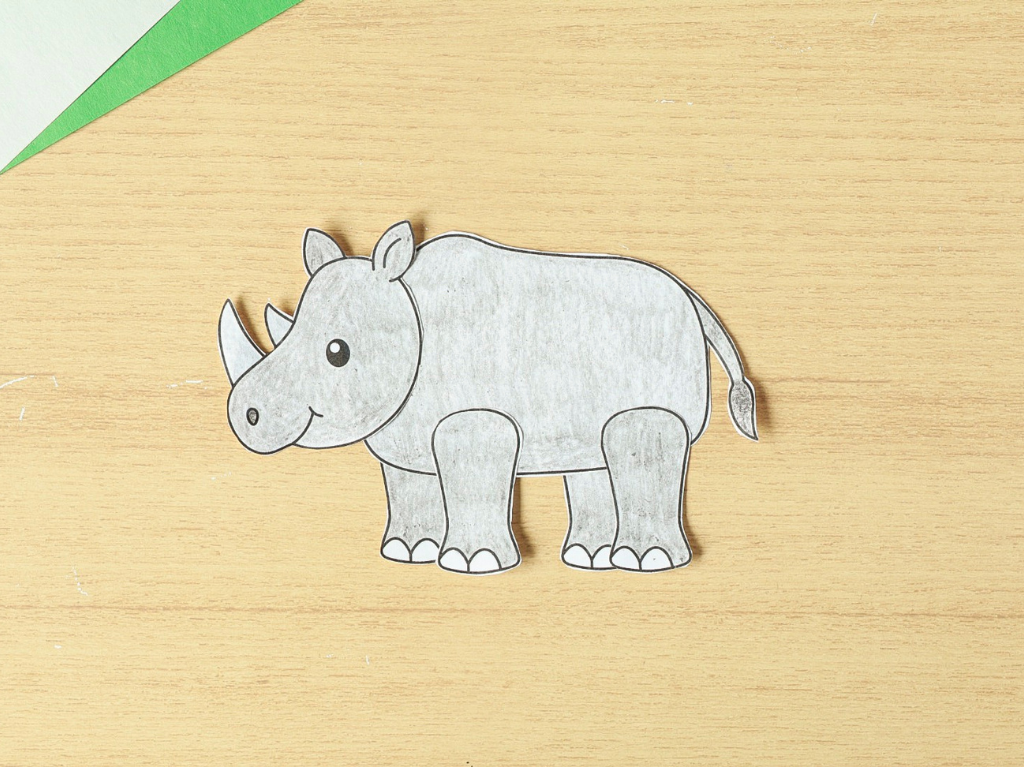
Color the rhino’s head, body, and legs with crayons, markers, or colored pencils.
Rhinos are usually shades of gray or brown, but you can use any colors you like.
Step 2: Cut out the pieces
Next, cut out all of the pieces.
Don’t worry about cutting perfectly on the lines.
It’s completely fine if there’s a small border around the edges, especially around the horns and tail.
Step 3: Glue the back legs first
Glue two of the legs behind the rhino’s body so they peek out from underneath.
If you’re using a background, now you can glue the body piece onto the paper before moving on.
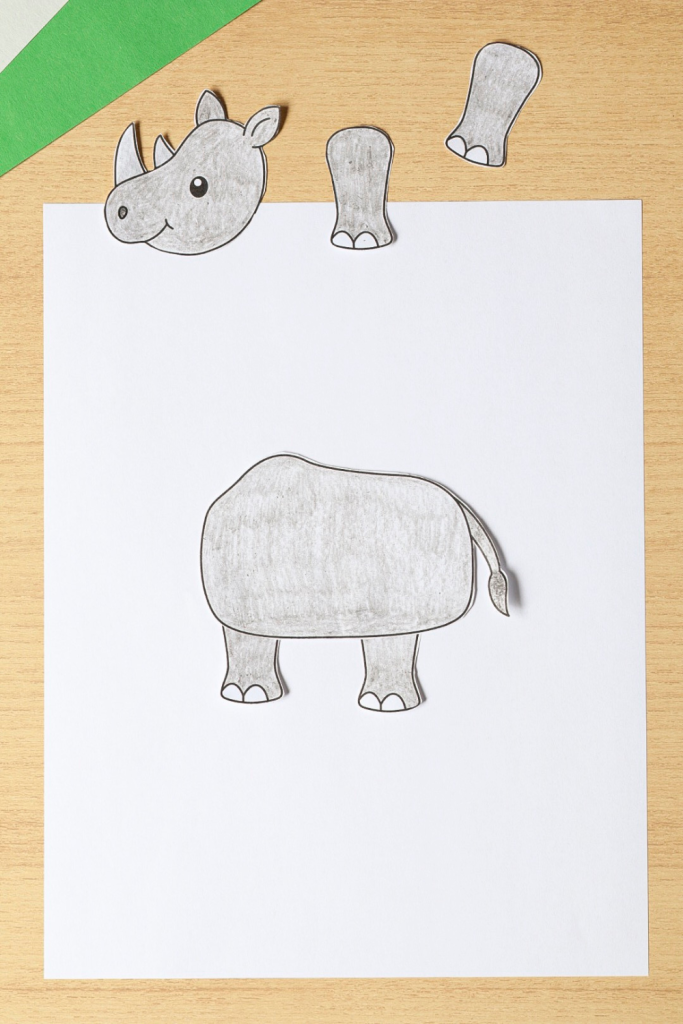
Step 4: Finish your rhino
Glue the head onto the front of the body. Then, glue the remaining two legs on top of the body to finish your rhino.