Printable Build A Lion Craft
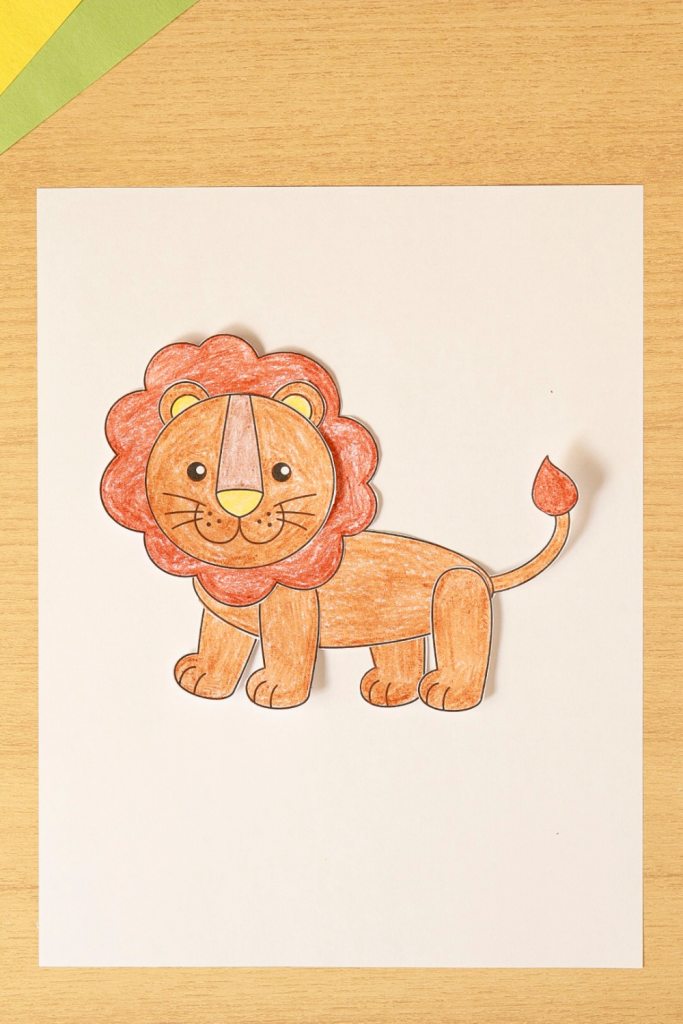
Here’s a fun cut and paste activity if you’re looking for a new idea.
The printable template gives you everything you need to build your own lion, so there’s no prep beyond printing.
It fits right in with zoo animal themes in preschool or kindergarten, but it also works just as well for a quiet afternoon at home.
There are lots of curved lines to cut, which makes it a fun way to work on scissor control without it feeling like work.
Get the Lion Craft Template
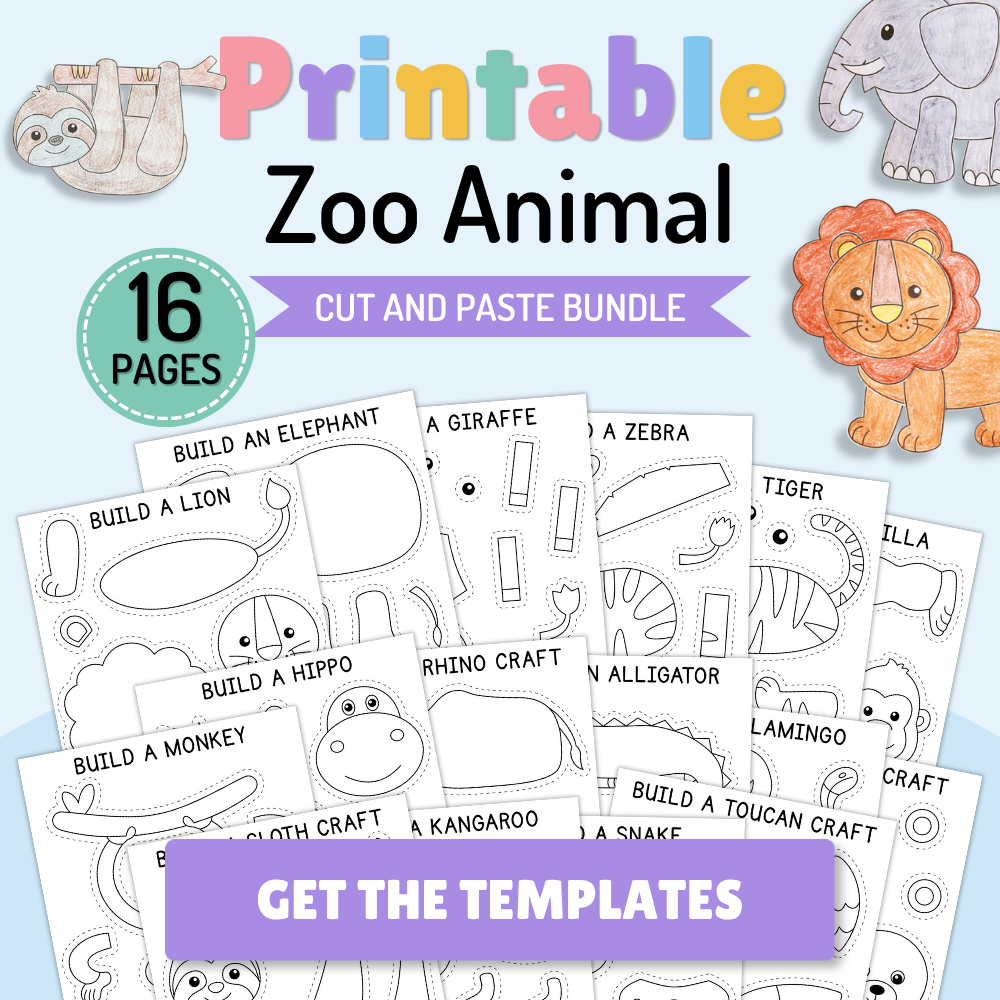
This template plus 15 others is included in the Zoo Animal Craft Bundle! Get all 16 as one instant PDF download for personal and classroom use.
Grab the bundle in my Etsy shop here.
How to Build Your Own Lion

Supplies Needed
- Lion craft template
- Crayons, markers, or colored pencils
- Scissors
- Glue stick
- White copy paper or construction paper (optional)
Step 1: Color
Color all of the pieces however you’d like.
Real lions are usually tan or light brown with darker brown manes, but you can make yours any colors you like.
Step 2: Cut
Carefully cut out all the pieces.
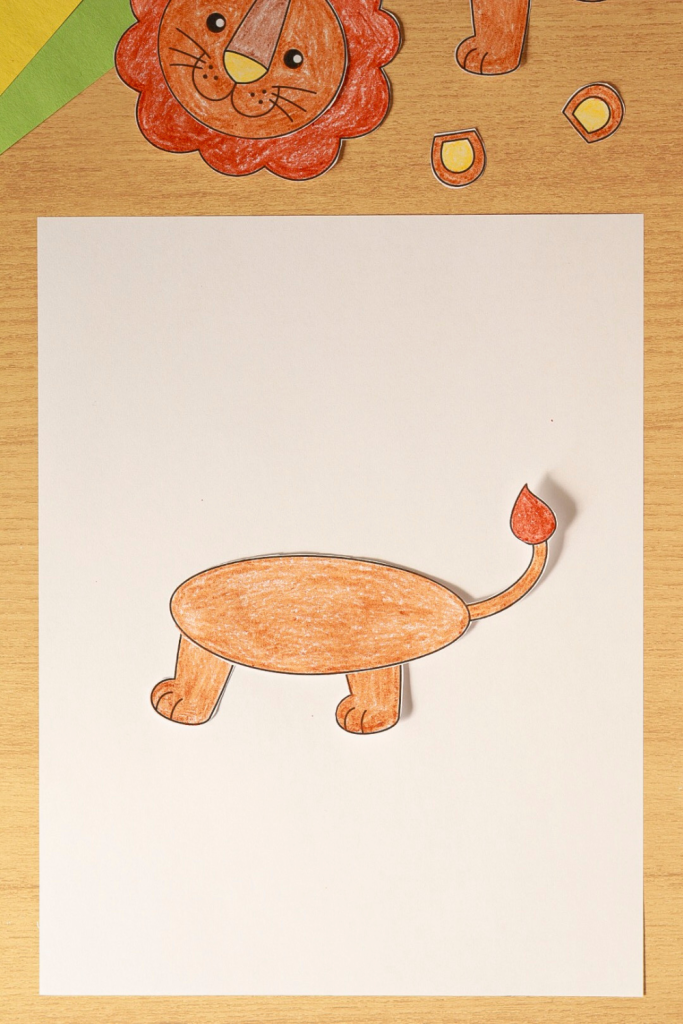
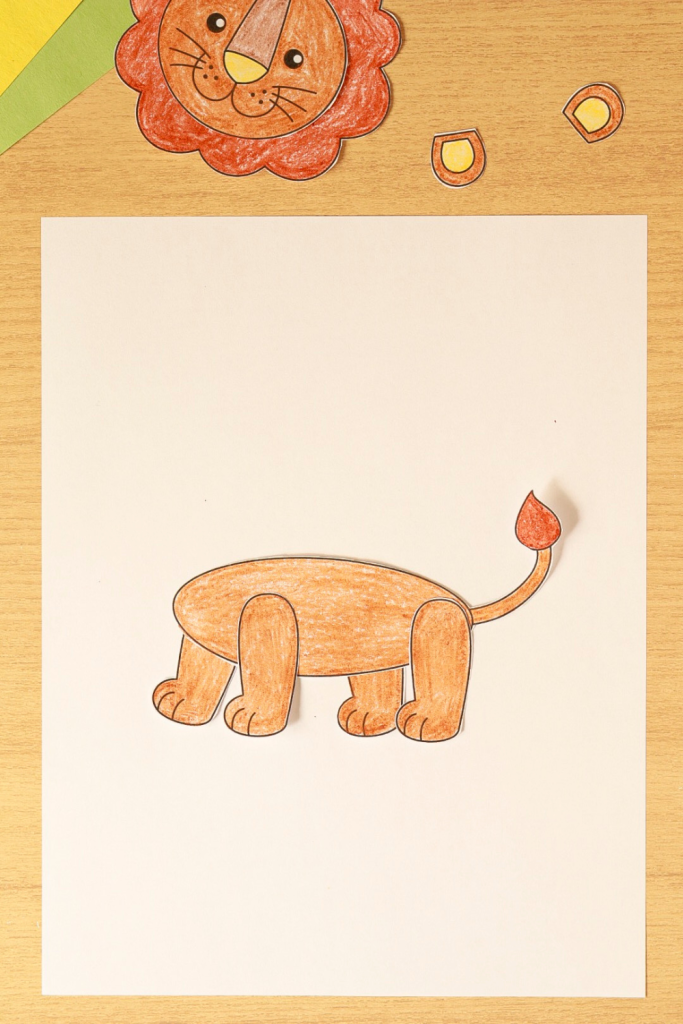
Step 3: Glue the back legs first
If you’re not using a background, glue the two legs that will be hidden behind the body to the back.
If you’re using a background, glue the two hidden legs onto your sheet of paper first. Then, glue the body piece on top.
Leave just a little bit of each foot peeking out at the bottom.
Step 4: Add the front legs
Glue the two remaining legs onto the front of the body.
Step 5: Finish assembling
Glue the ears to the back of the lion’s head.
Glue the head onto the mane.
Finally, glue the completed head onto the body to finish your lion!