Printable Build a Corgi Craft
Corgis are one of the most popular dog breeds around, and it’s easy to see why!
They are absolutely adorable!
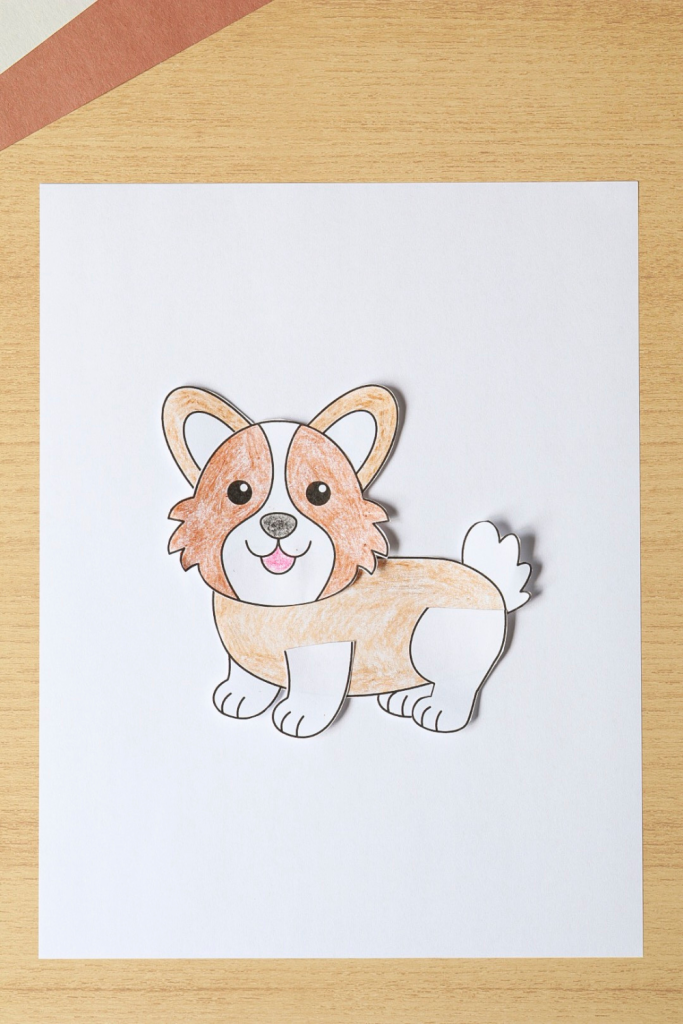
With this cut-and-paste activity, kids can color the pieces, cut them out, and build a corgi of their own.
This is a great one to have ready for any pet themes you might have coming up in preschool or kindergarten. Or just save it for a fun rainy day activity.
The printable template needed to make this craft is available in my Etsy shop. Grab it below, or keep reading to see how it’s assembled.
Get the Corgi Craft Template
You can find this template in my Etsy shop here.
How to Build Your Own Corgi
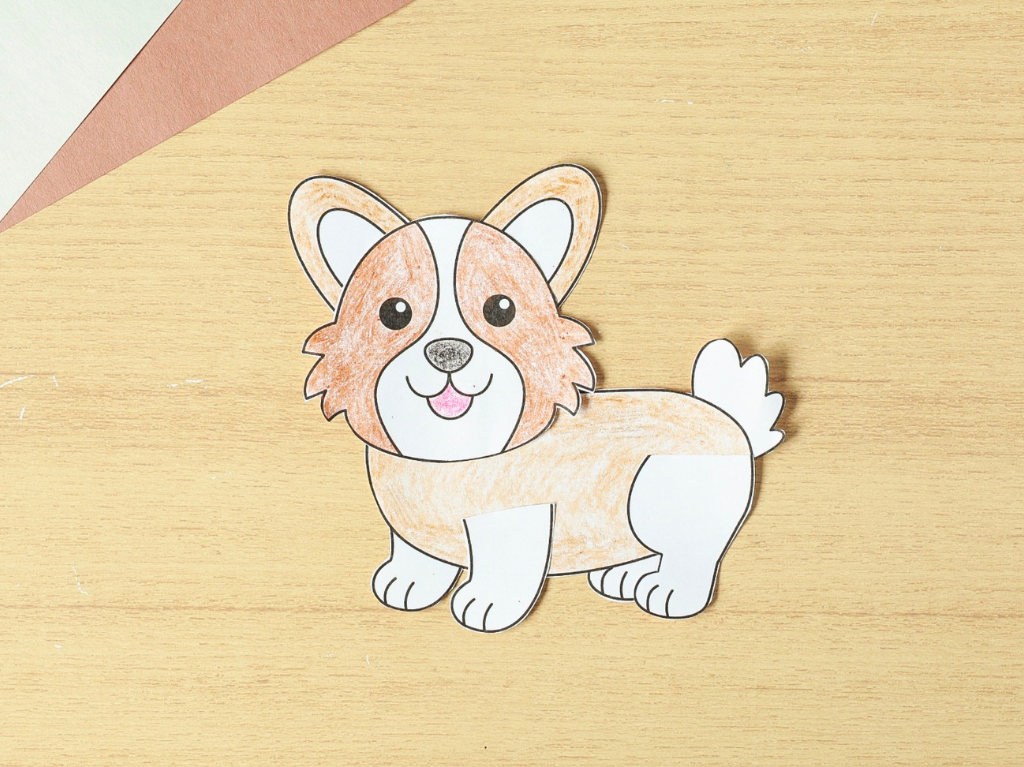
Supplies Needed
- Corgi craft template
- Crayons, markers, or colored pencils
- Scissors
- Glue stick
- White copy paper or construction paper (optional)
Step 1: Color the pieces
Color the corgi’s head, body, ears, and legs with crayons, markers, or colored pencils.
You can make yours look like a real Corgi, or use any colors you’d like.
Step 2: Cut out the pieces
Next, cut out all of the pieces.
Don’t worry about cutting perfectly on the lines.
It’s completely fine if there’s a small border around the edges, especially around the fluffy cheeks and tail.
Step 3: Add the ears
Glue the ears behind the corgi’s head so they peek out from the top, and then set the completed head aside.
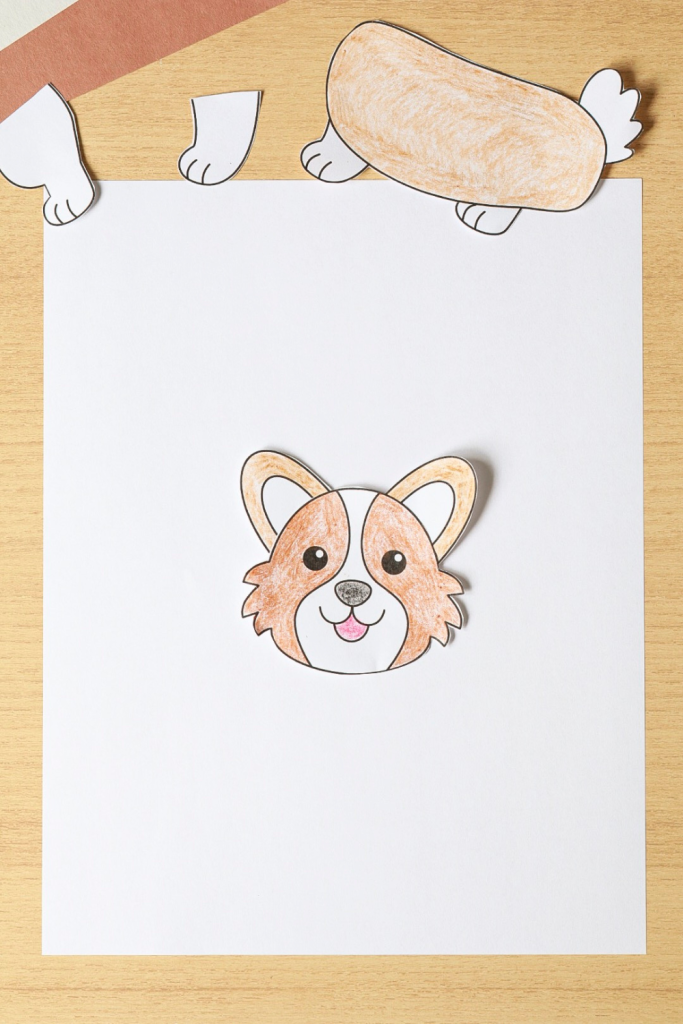
Step 4: Finish your corgi
If you’re using a background, glue the body piece onto the paper first.
Then, glue the head onto the front of the body.
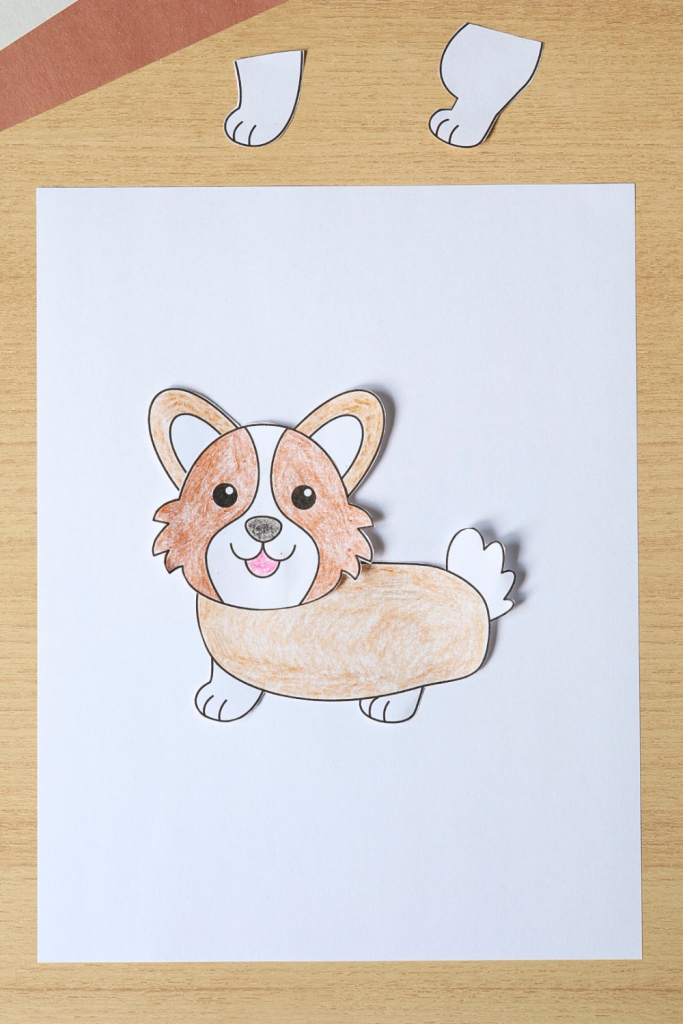
Finally, glue the two front legs on top of the body to finish your corgi.