Printable Build An Elephant Craft
Here’s a fun cut and paste activity to try next.
The printable template has all the pieces you need to build your own elephant.
Use it for zoo animal or jungle themes in daycare or preschool. Or just for some extra practice using scissors at home!
It’s also an easy craft to add to the mix if you’re doing letter of the week and have other letter E activities planned.
Get the Elephant Craft Template
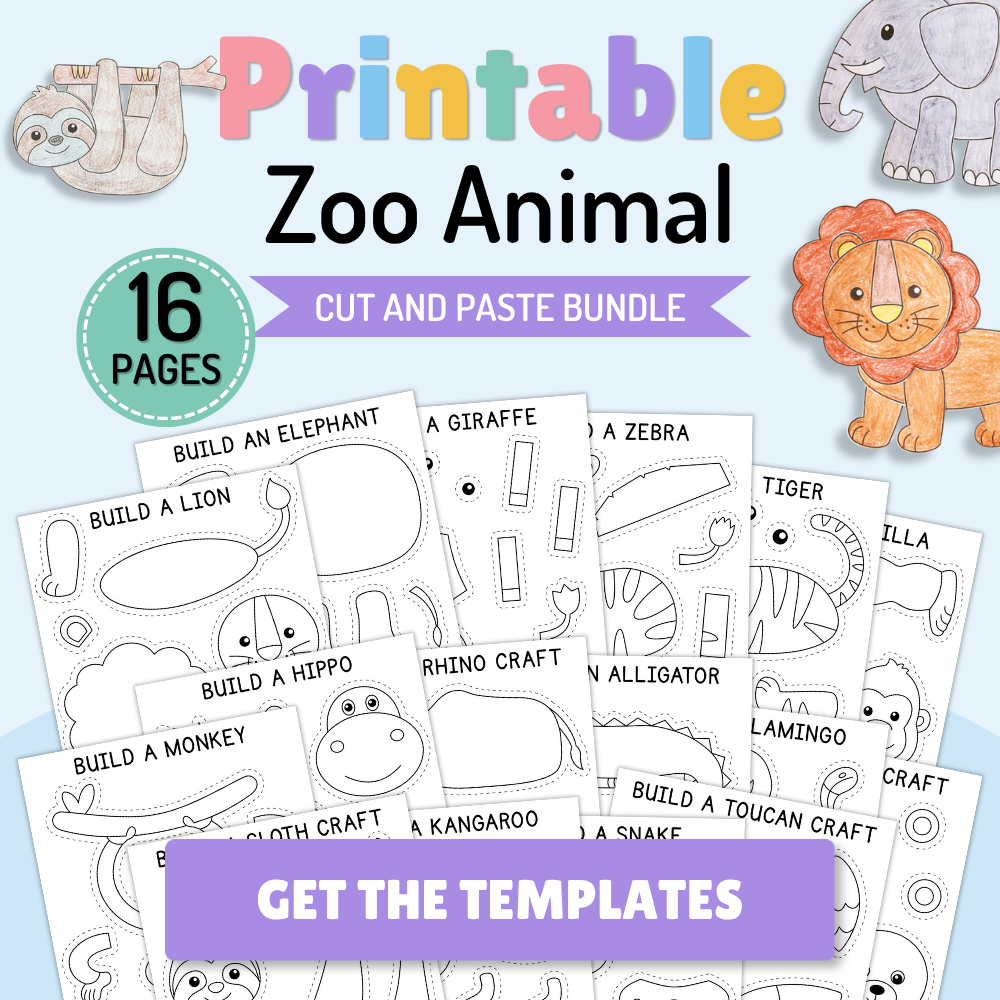
This template plus 15 others is included in the Zoo Animal Craft Bundle! Get all 16 as one instant PDF download for personal and classroom use.
Grab the bundle in my Etsy shop here.
How to Build Your Own Elephant
Supplies Needed
- Elephant craft template
- Crayons, markers, or colored pencils
- Scissors
- Glue stick
- White copy paper or construction paper (optional)
Step 1: Color the pieces
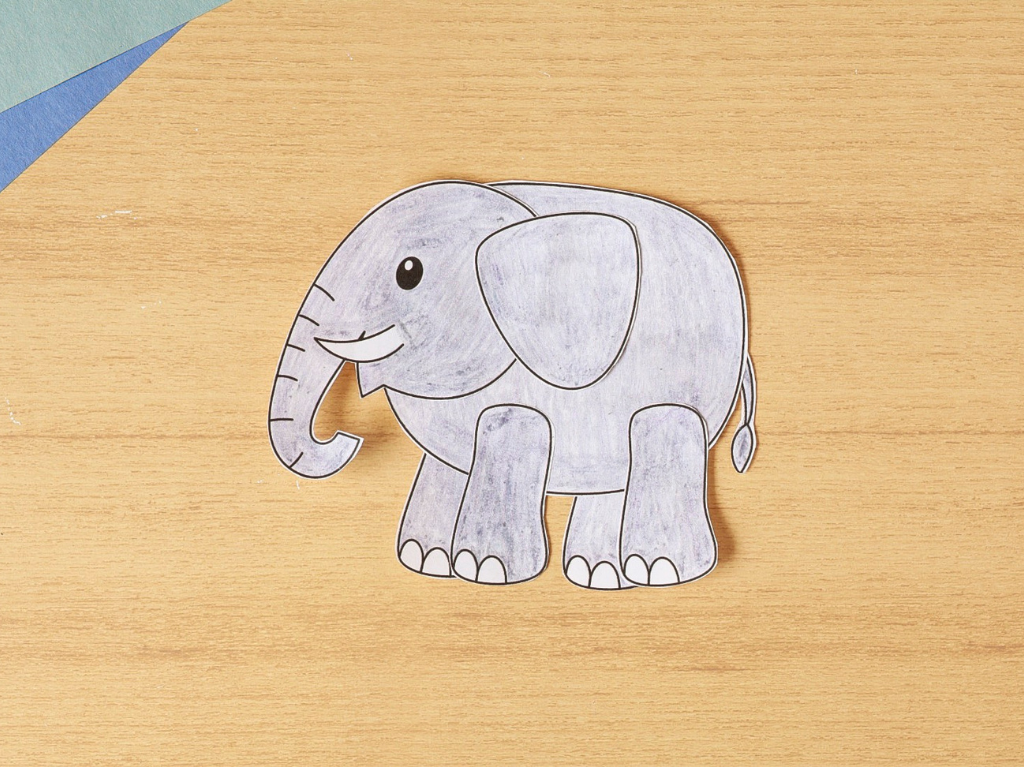
Color the elephant’s head, body, legs, tail, and ear with crayons, markers, or colored pencils.
Elephants are usually gray, but you can use any colors you like to make your own unique elephant.
Step 2: Cut out the pieces
Cut out all the pieces.
Don’t worry about cutting perfectly on the lines. It’s completely fine if there’s a small outline, especially around the trunk, tail, and curved edges.
Step 3: Glue the back pieces first
There are two ways you can assemble your elephant.
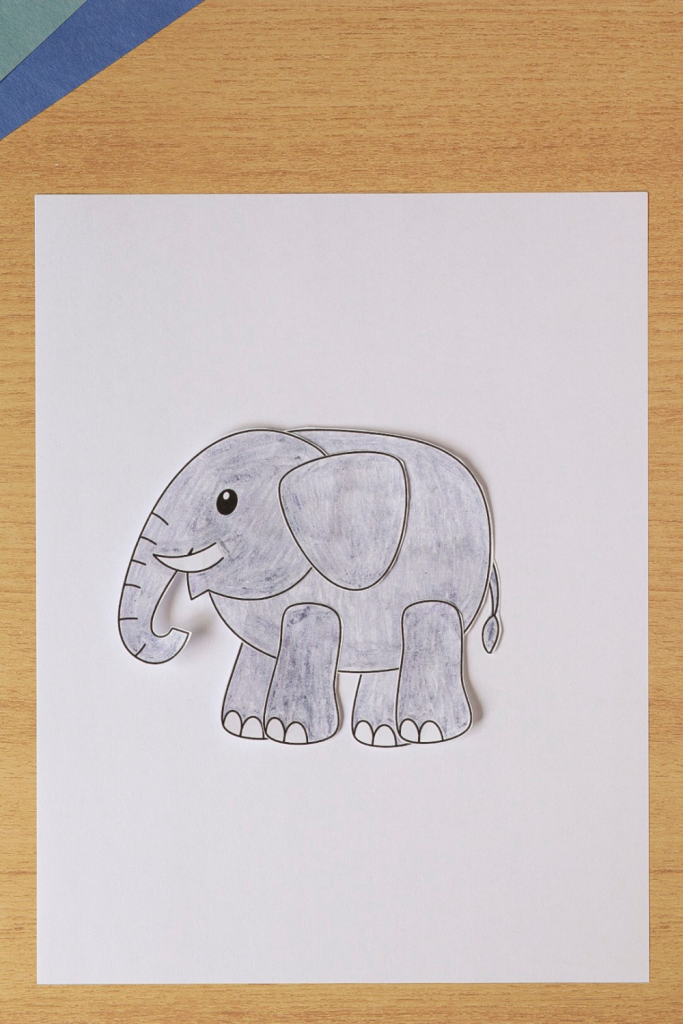
Option 1: Glue all four legs behind the body using the finished picture on the printable as a guide.
Option 2: Glue the two legs on the far side of the elephant behind the body. Save the two legs on the side facing you for the next step to create a more layered look, like the example shown in this tutorial.
And don’t forget the tail!
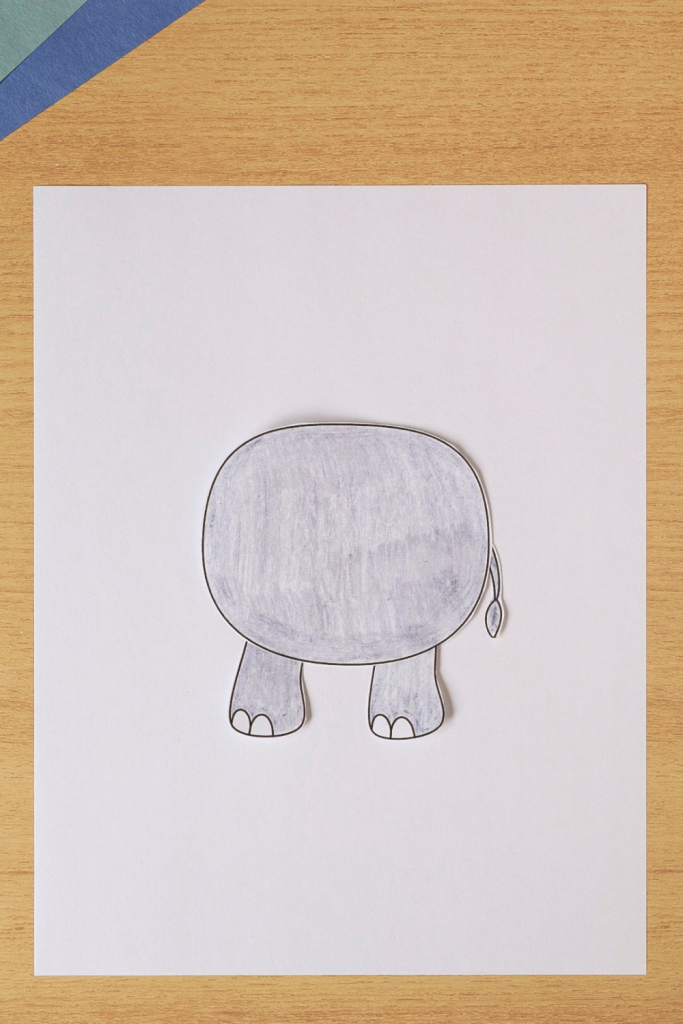
Step 4: Assemble the Elephant
Finish assembling your elephant by gluing on any remaining legs, then glue the head and ear in place.