Printable Build a Camper Trailer Craft
Some families camp in a tent, while others bring a camper trailer along for the adventure!
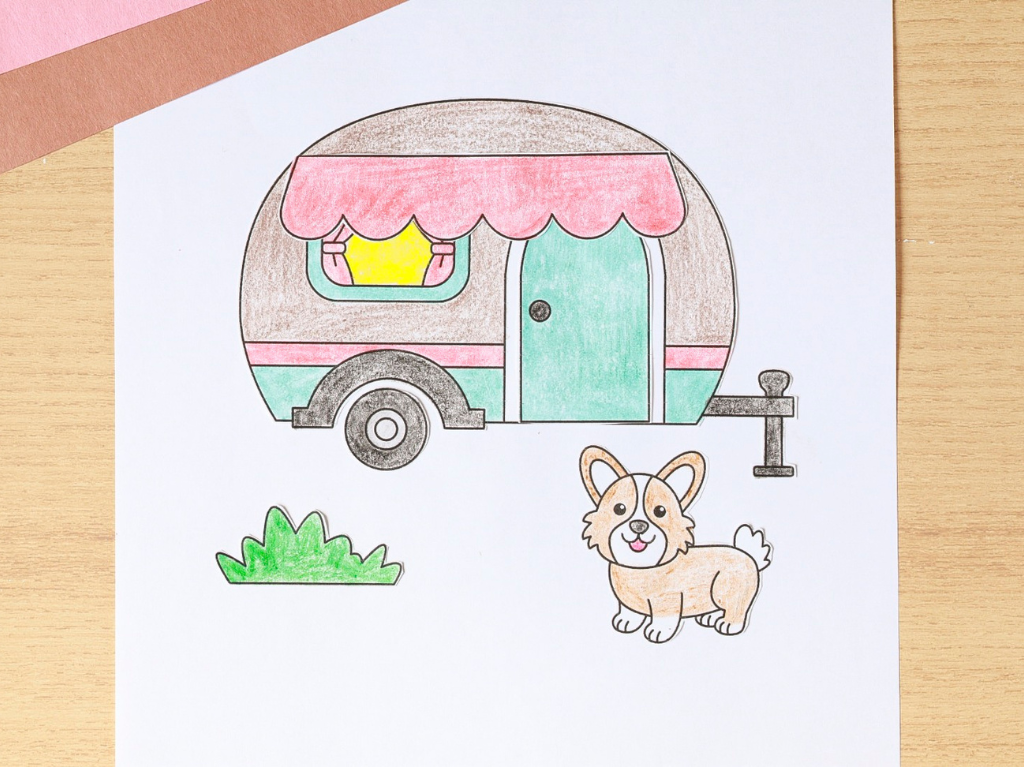
Kids can build their own camper trailer by coloring the trailer, door, awning, and little corgi, then cutting out the pieces and gluing everything onto a sheet of paper or construction paper.
This activity works well for summer or camping themes in daycare, preschool, or summer camp.
You’ll just need some crayons or markers, scissors, and a glue stick.
The printable template needed to make this craft is available in my Etsy shop. Grab it below, or keep reading to see how it’s assembled.
Get the Camper Trailer Craft Template
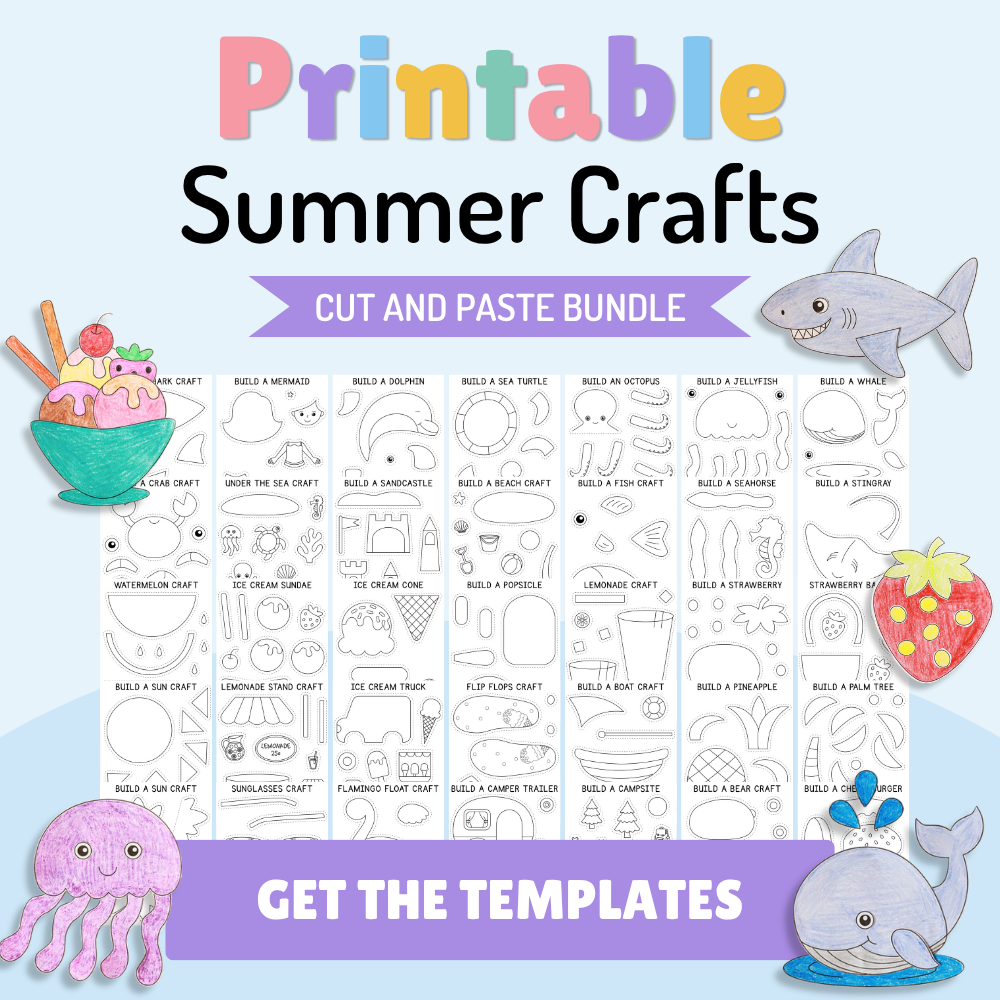
The template to make this craft is included in both the summer and camping craft bundles.
How to Build Your Own Camper Trailer
Supplies Needed
- Camper trailer craft template
- Crayons, markers, or colored pencils
- Scissors
- Glue stick
- White copy paper or construction paper
Step 1: Color the pieces
Color all of the camper pieces, along with the dog and grass, using crayons, markers, or colored pencils.
You can use the colors shown here or come up with your own color combination.
Step 2: Cut out the pieces
Next, cut out all of the pieces.
Don’t worry about cutting perfectly on the lines.
It’s completely fine if there’s a small border around the edges.
Step 3: Start with the camper
Center the main camper piece on the page and glue it down.
Make sure to leave some room underneath for the dog and grass.
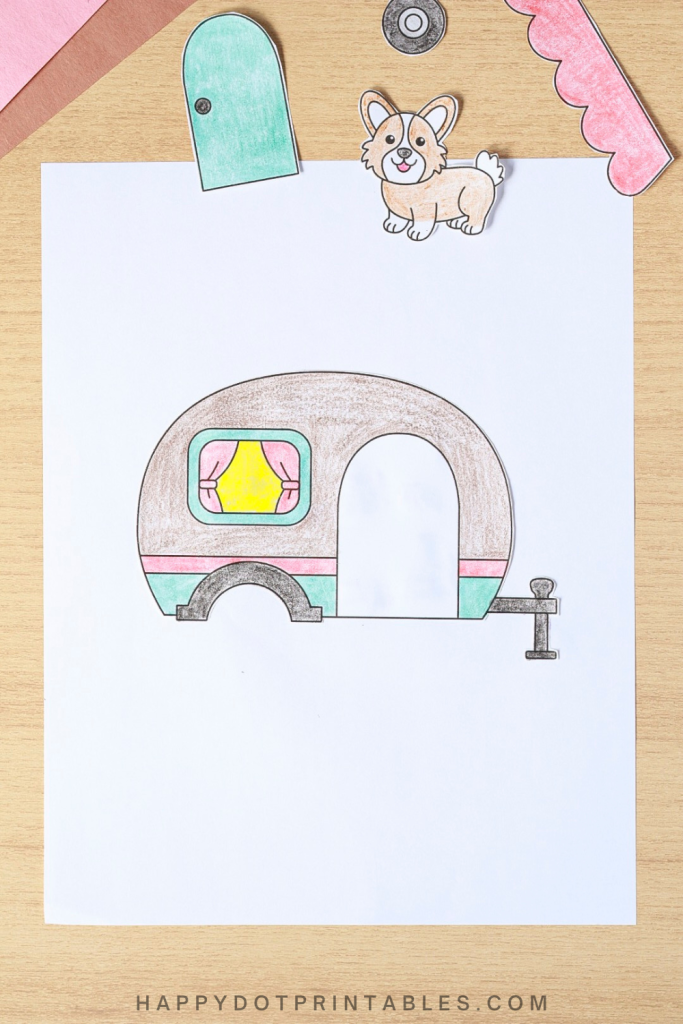
Step 4: Add the door
Glue the door inside the open doorway.
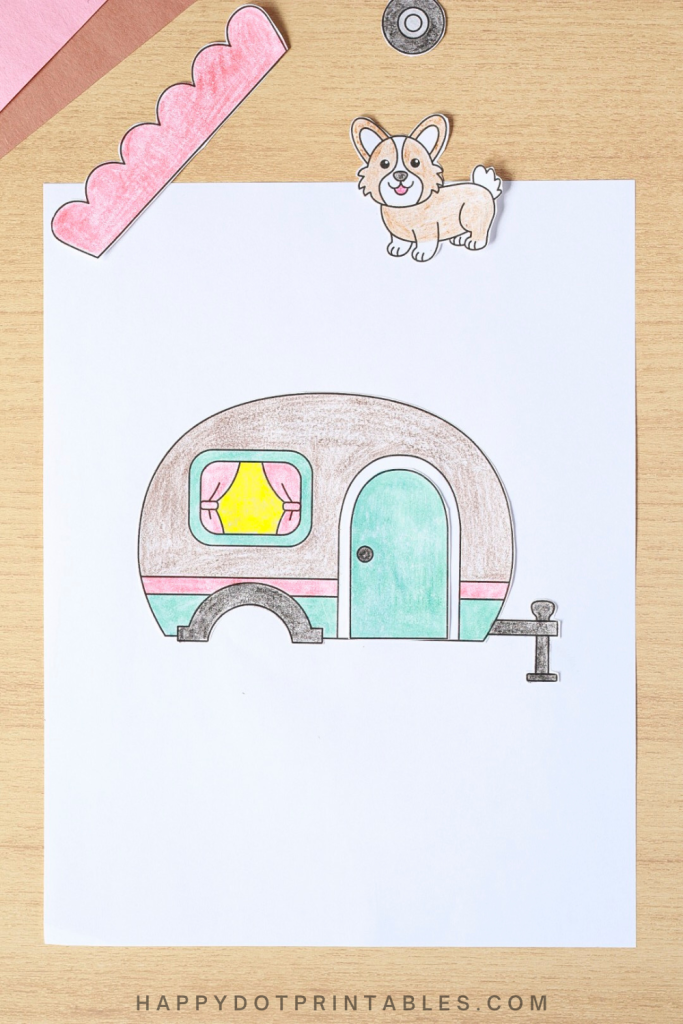
Step 5: Add the awning and wheel
Glue the awning across the top of the window and door.
Then, glue the wheel inside the open wheel well.
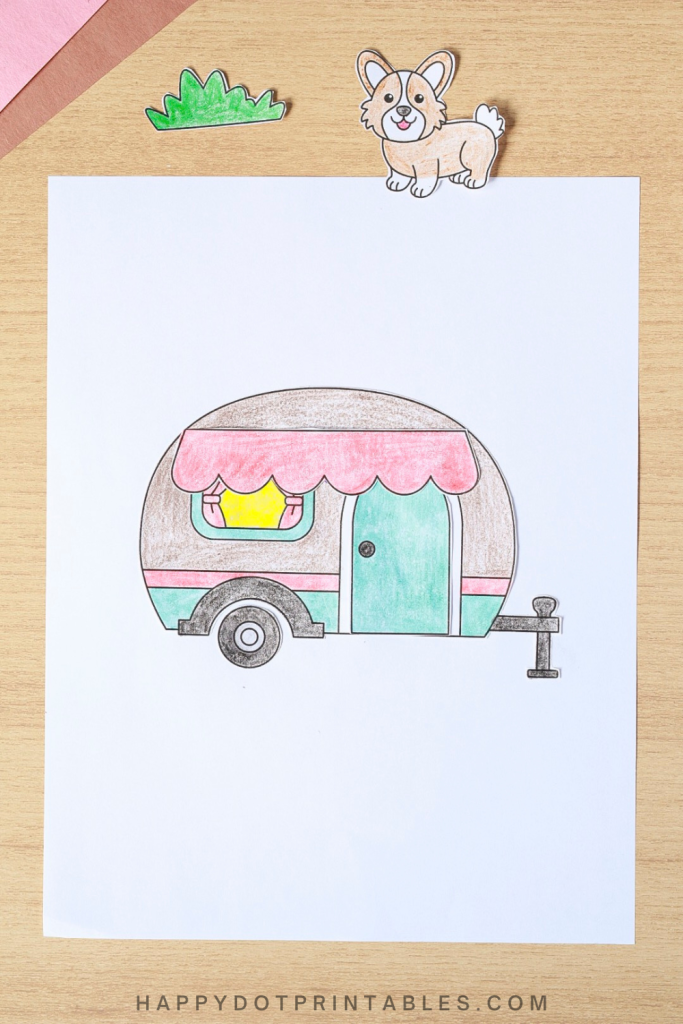
Step 6: Finish your camping scene
Glue the grass and dog underneath the camper.
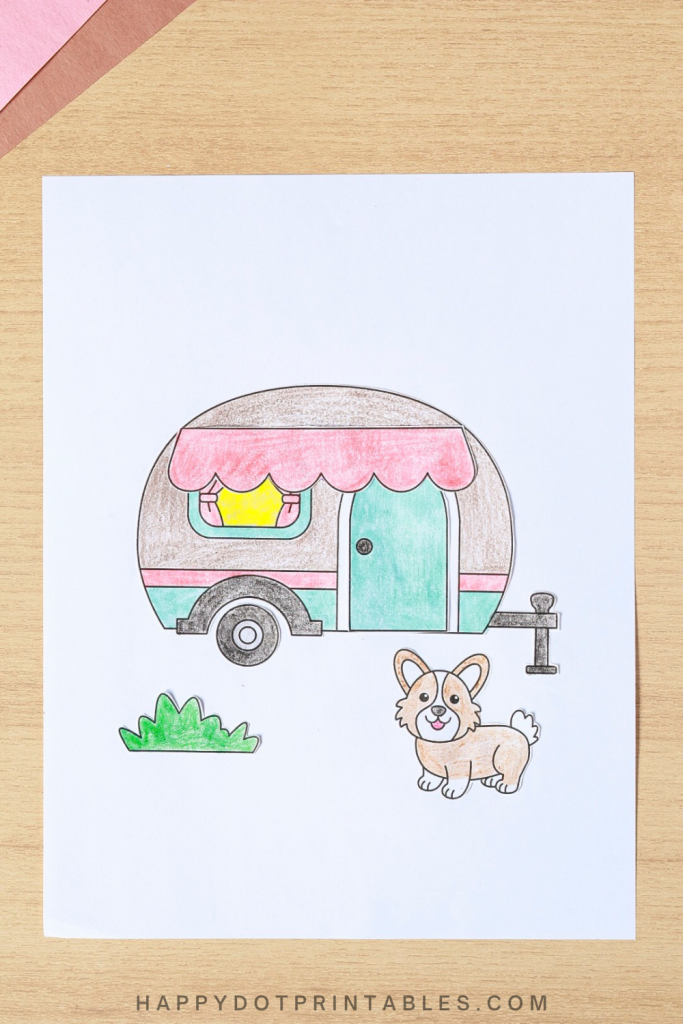
You can place them wherever you’d like to finish your camping scene!