
Printable Build A Ladybug Craft
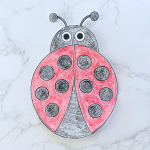
Ladybugs are one of the most recognizable bugs around, and kids love them!
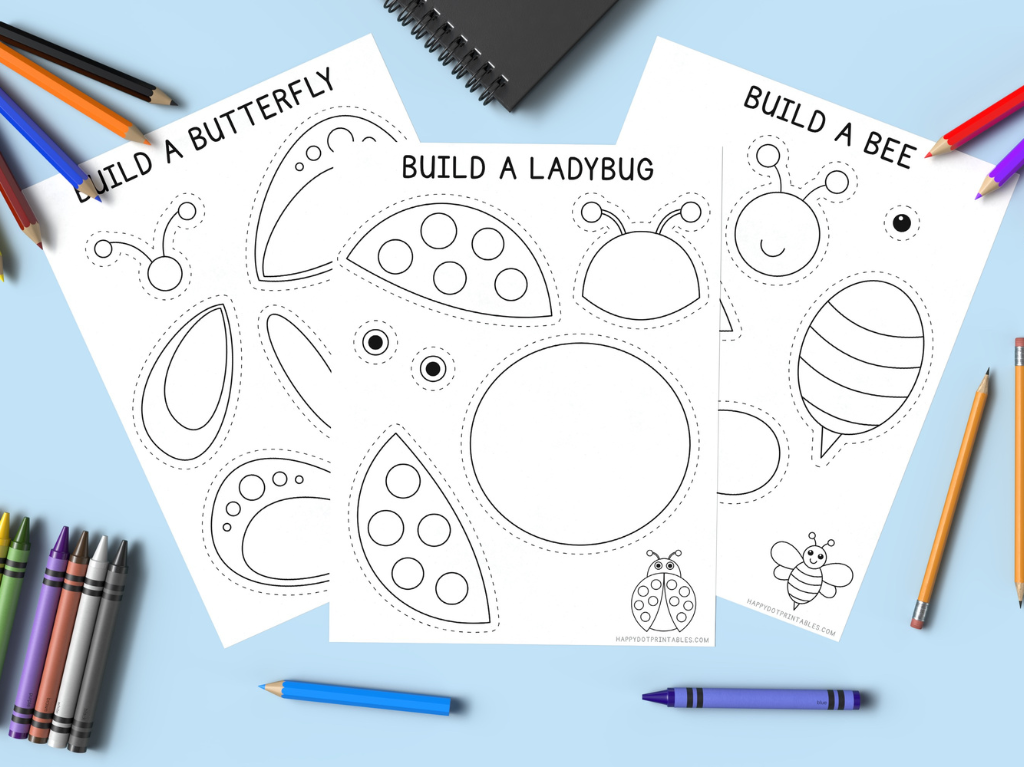
With this cut-and-paste activity, kids can color the pieces, cut them out, and build a ladybug of their own.
This is a great one to have ready for spring themes, garden themes, or insect units in preschool or kindergarten.
The printable template needed to make this craft is available in my Etsy shop. Grab it below, or keep reading to see how it’s assembled.
If you’re planning insect or bug activities, you might also like this build a bee craft.
Get the Ladybug Craft Template
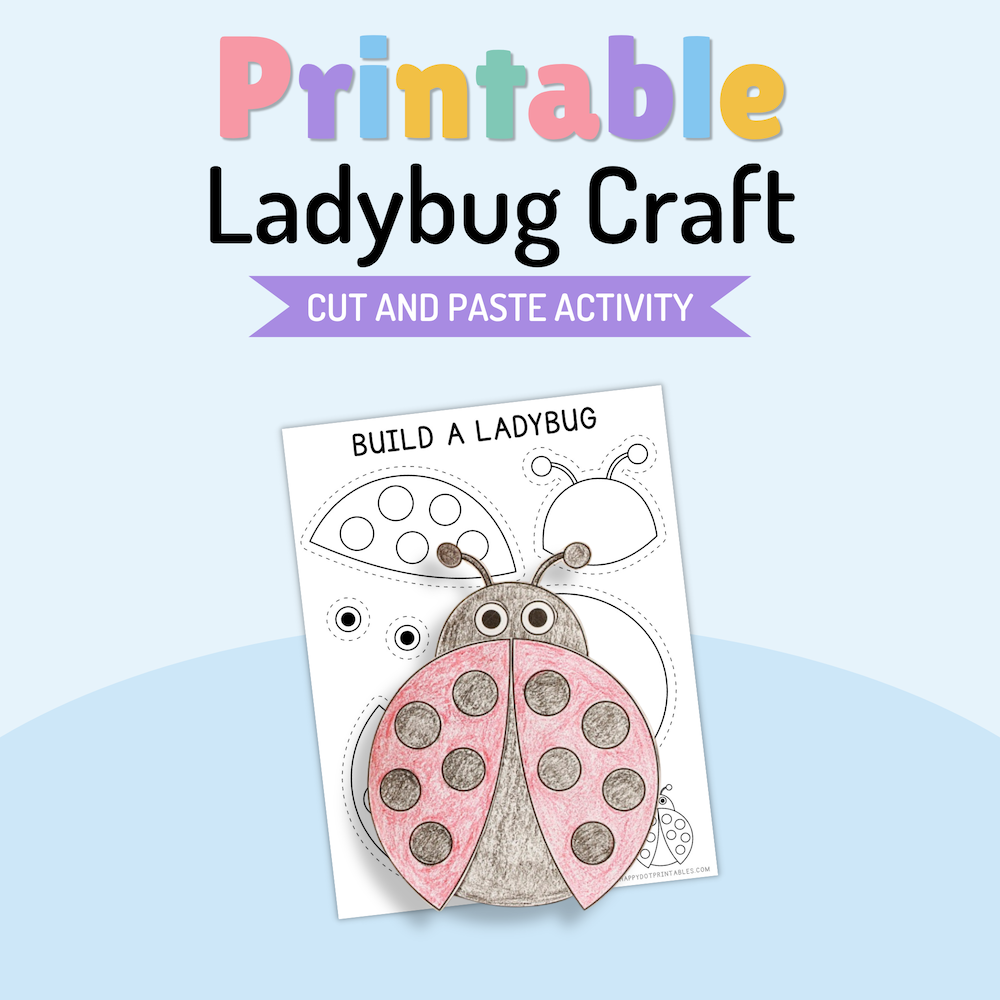
This craft template is available in my Etsy shop. It’s also included in the bug bundle along with 7 more crafts!
How to Build Your Own Ladybug

- Ladybug craft template
- Crayons, markers, or colored pencils
- Scissors
- Glue stick
- White copy paper or construction paper (optional)
Step 1: Color the pieces
Color the body, head, and wings with crayons, markers, or colored pencils.
Real ladybug wings are usually red with black spots, but you can use any colors you like to make your own unique ladybug.
Step 2: Cut out the pieces
Cut out each piece.
It’s okay if there’s a small outline around the edges, especially on the curved parts. It will still look like a ladybug once assembled.
Step 3: Glue the back piece first
If you’re not using a background, start by gluing the ladybug’s head to the back of the body.
If you are using a background, glue the head onto the paper first. Then, glue the body on top.
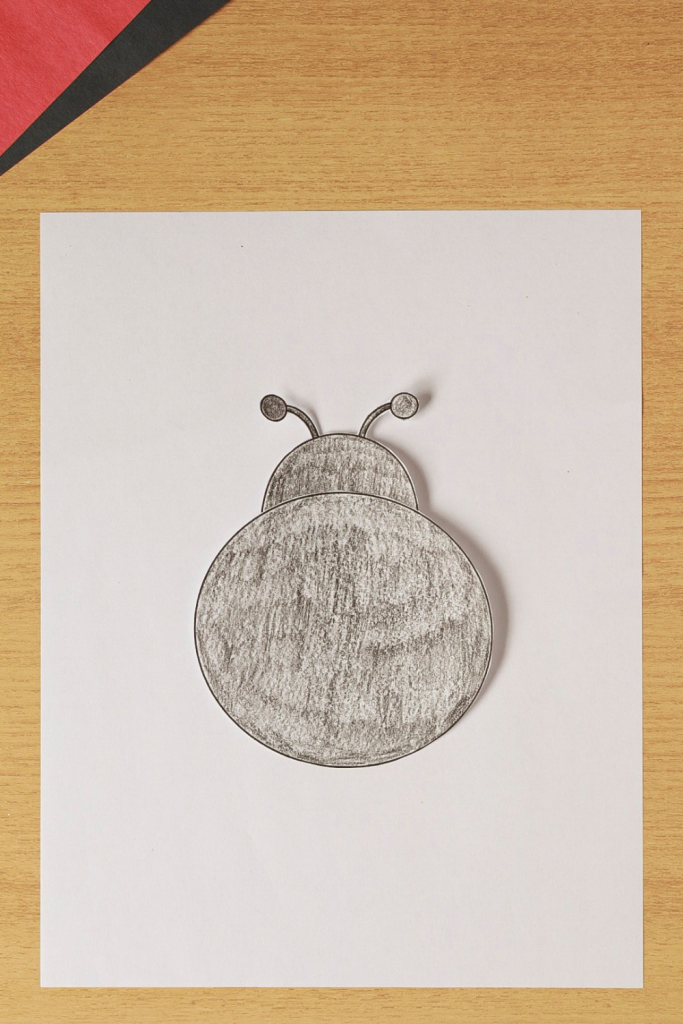
Step 4: Assemble the ladybug
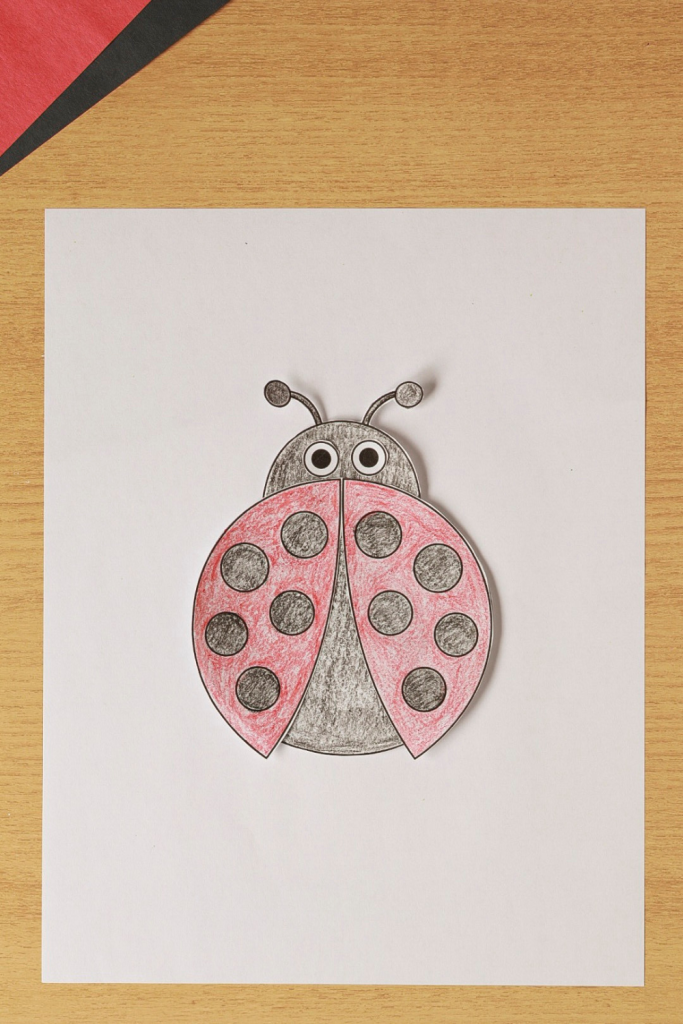
Glue the wings on top, leaving a gap down the middle so the body shows through.
Add the eyes and you have your very own ladybug!

great work